How to Build PYNQ v2.5 for Ultra96

How to Build PYNQ v2.5 for Ultra96
In this post we’re going to build an SD image for PYNQ release v2.5 (tool version 2019.1) for the Ultra96 board. The starting point will be the virtual machine that we setup in an earlier post How to Install PetaLinux 2019.1. In that post we installed Vivado & SDK 2019.1 and PetaLinux 2019.1 on the VM, and we’ll need all three of them to build the PYNQ SD image. I highly recommend that you follow that post and recreate exact same VM to avoid any issues going through this post. [Read More]
How to Install PetaLinux 2019.1

Clean install on a virtual machine

This is my guide for installing PetaLinux 2019.1 from scratch on a virtual machine. The VM will run Ubuntu 18.04.4 64-bit and the host workstation is an Intel Xeon with 64GB RAM and 3TB HDD running Windows 10 64-bit. The PetaLinux user guide says that the latest supported version of Ubuntu is 18.04.1 however in my experience it works just fine in the more recent 18.04.4 version. Step 1: Create the Virtual Machine Get VirtualBox from here, then install and launch it. [Read More]

PetaLinux for Artix-7 Arty Base Project

In the final part of the Arty base project tutorial, we build a PetaLinux project that’s tailored to our Arty base design. Then we boot PetaLinux on our hardware and verify that we have network connectivity by checking the Arty’s DHCP assigned IP address and then pinging it from a PC. Tools used I used the following setup to do this project: Vivado 2017.3 on a Windows 10 machine PetaLinux 2017. [Read More]

Multi-port Ethernet in PetaLinux

Many FPGA-based embedded designs require connections to multiple Ethernet devices such as IP cameras, and control of those devices under an operating system, typically Linux. The development of such applications can be accelerated through the use of development boards such as the ZedBoard and the Ethernet FMC. In this tutorial, we will build a custom version of PetaLinux for the ZedBoard and bring up 4 extra Ethernet ports, made available by the Ethernet FMC. [Read More]

Connecting an SSD to an FPGA running PetaLinux

Connecting an SSD to an FPGA running PetaLinux
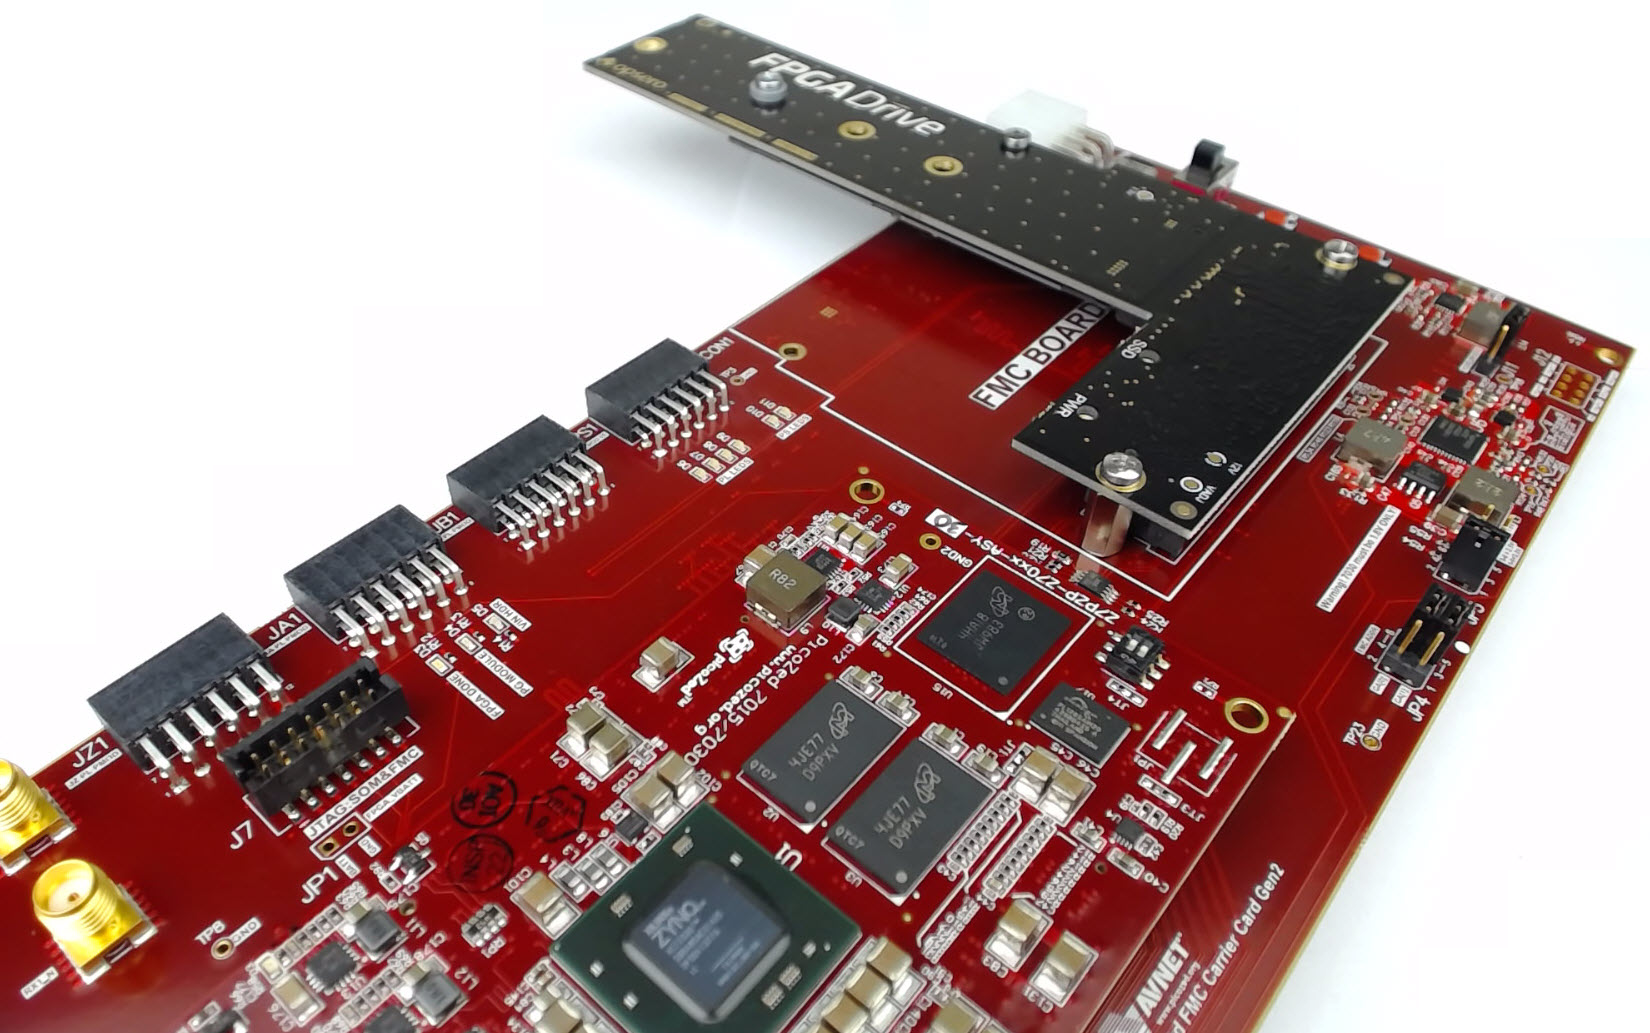
This is the final part of a three part tutorial series on creating a PCI Express Root Complex design in Vivado and connecting a PCIe NVMe solid-state drive to an FPGA. Part 1: Microblaze PCI Express Root Complex design in Vivado Part 2: Zynq PCI Express Root Complex design in Vivado Part 3: Connecting an SSD to an FPGA running PetaLinux (this tutorial) In this final part of the tutorial series, we’ll start by testing our hardware with a stand-alone application that will verify the status of the PCIe link and perform enumeration of the PCIe end-points. [Read More]
nvme  pcie  ssd  popular